Ⅰ.How to Purchase and Activate Cross-border Cloud Phone
Step 1: Download the cross-border cloud client and install it on the computer (Windows PC);
Step 2: Register an account using your mobile phone number;
Step 3: Contact customer service to purchase an activation code (the activation code is valid for 1 year);
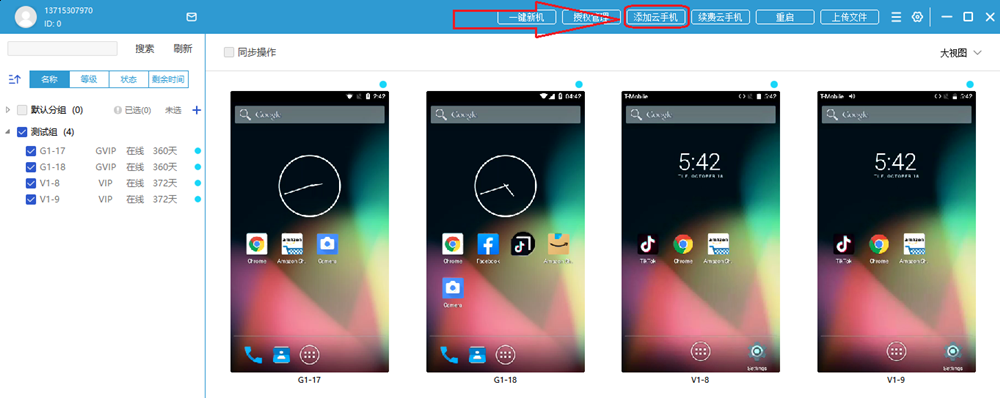
Step 4: Log in to the client, click the “Add Cloud Phone” button in the upper right corner, and activate the cloud phone using the activation code.
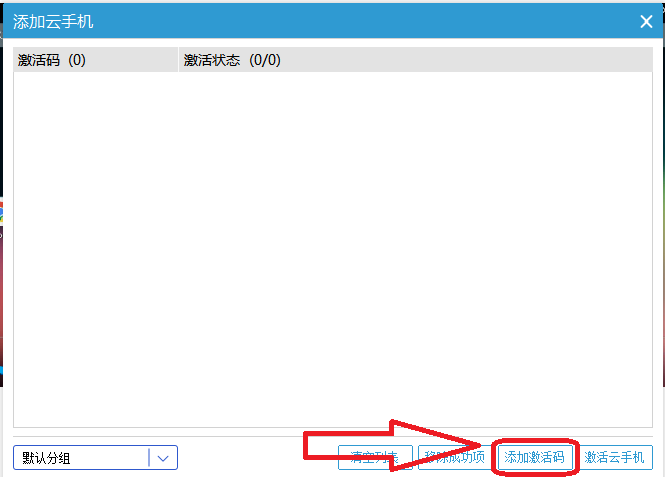
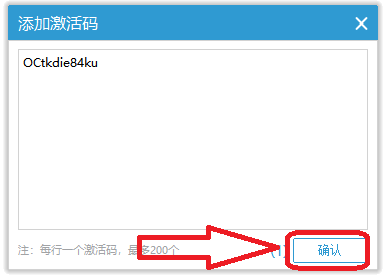
Click in sequence: Add Cloud Phone — Add Activation Code — Enter Activation Code — Confirm Button.
Ⅱ. How to Renew Cross-border Cloud Phone
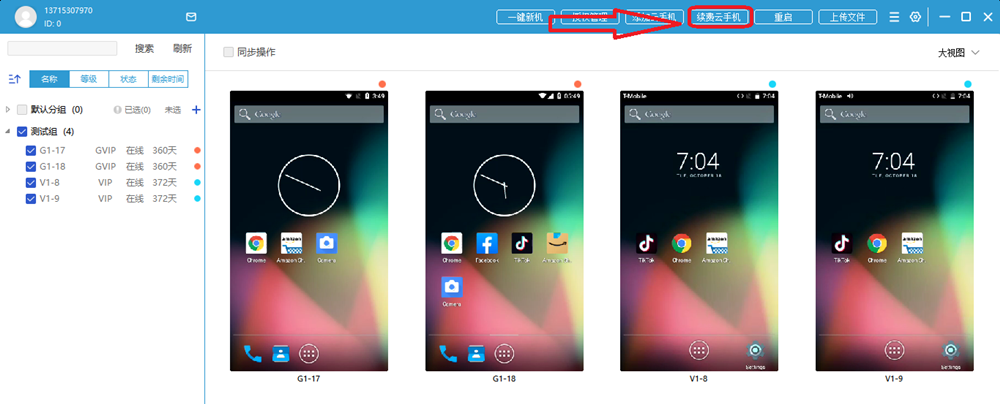
Step 1: Check the cloud phones that need to be renewed in the upper left corner;
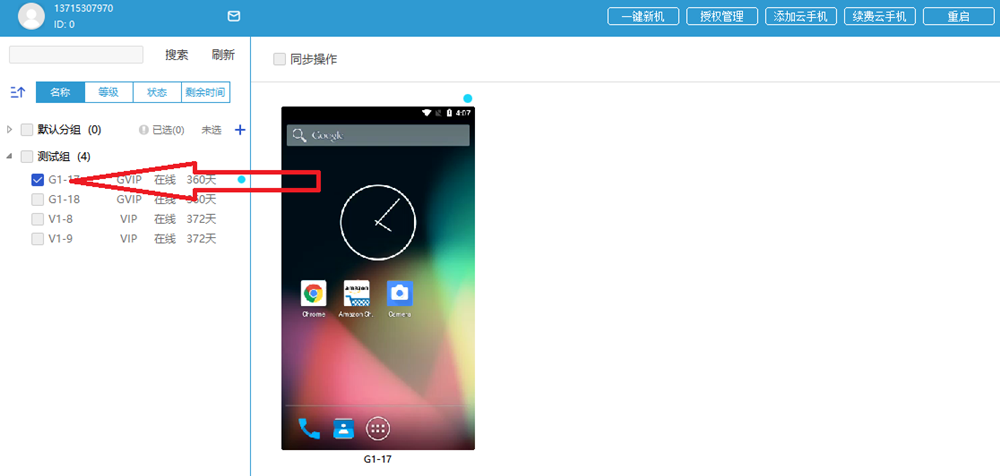
Step 2: Click the “Renew Cloud Phone” button in the upper right corner;
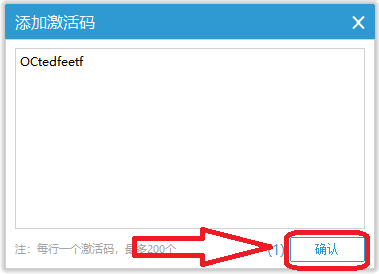
Step 3: Click the “Add Activation Code” button in the lower right corner of the pop-up window;

Step 4: Enter the activation code and click the “Confirm” button.
Ⅲ. How to Install Apps on the Cloud Phone
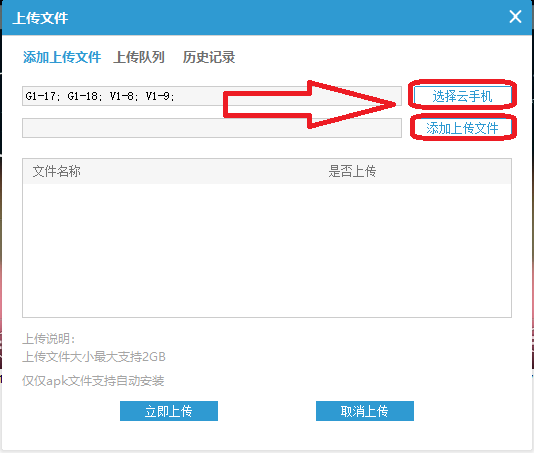
Step 1: Click the “Upload File” button in the upper right corner;
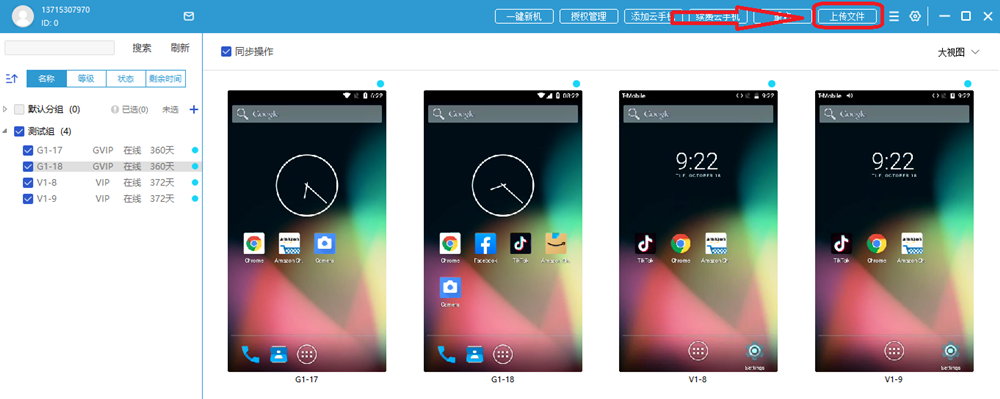
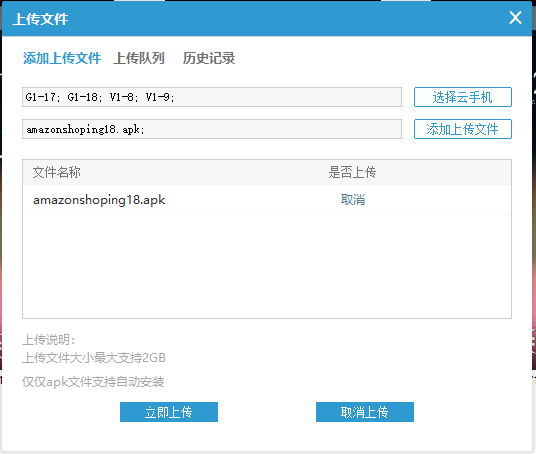
Step 2: In the pop-up menu, select the corresponding cloud phone and add the corresponding APK installation package;
Step 3: Click the “Upload Now” button in the lower left corner.
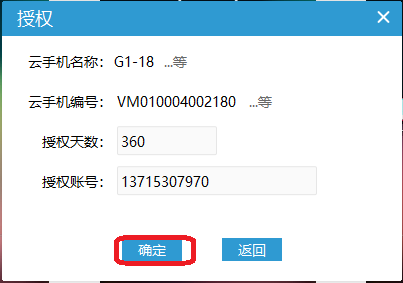
Ⅳ. How to authorize a cloud phone to other users
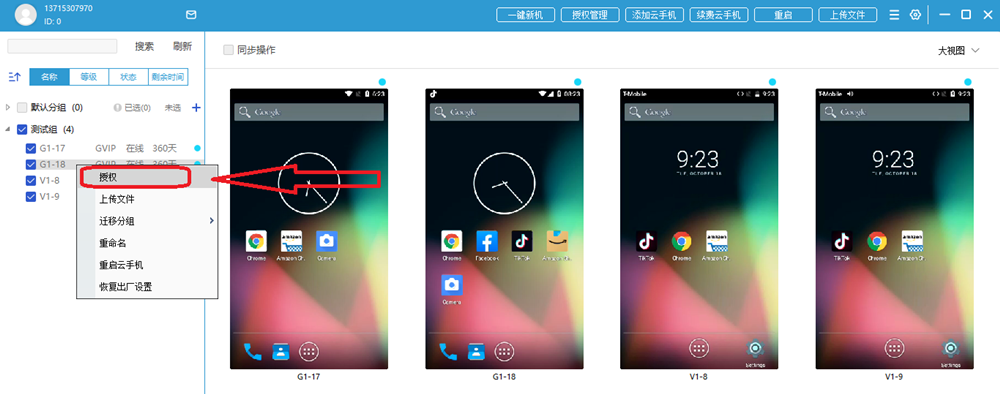
Step 1: Check the cloud phone that needs to be authorized in the top left corner, right-click with the mouse, and select the “Authorize” option from the pop-up menu.
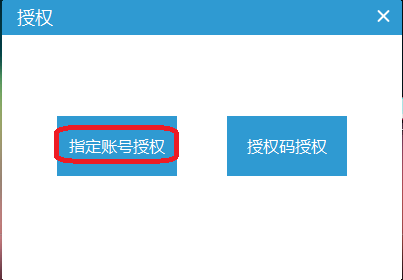
Step 2: In the pop-up window, select “Designated Account Authorization”.
Step 3: In the pop-up window, enter the authorized account and authorization time, then click confirm.
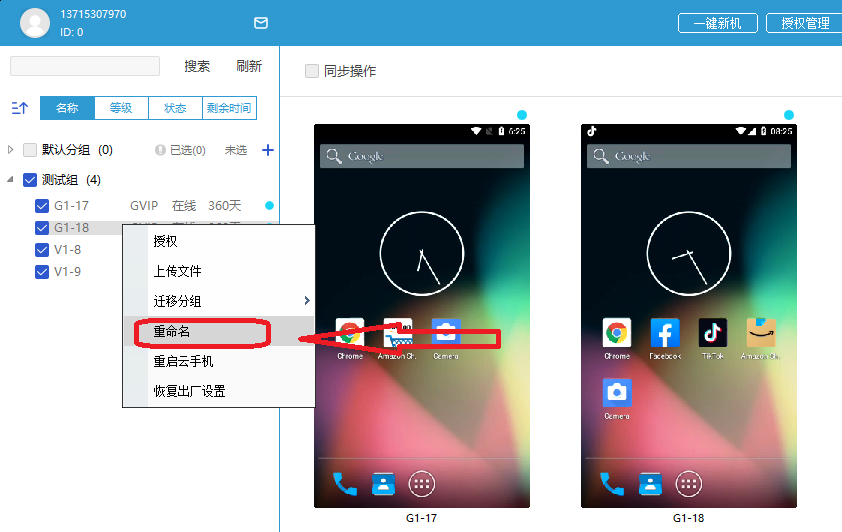
Ⅴ. How to rename a cloud phone
Step 1: Check the cloud phone that needs to be renamed in the top left corner, right-click with the mouse, select “Rename” from the pop-up menu, and enter the new name.
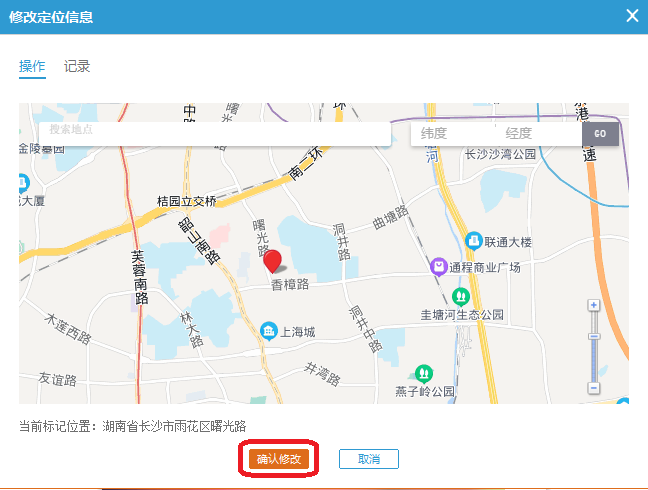
Ⅵ. How to modify the GPS location of a cloud phone
Step 1: Click the settings button in the top right corner of the client, and a shortcut key settings menu will pop up.
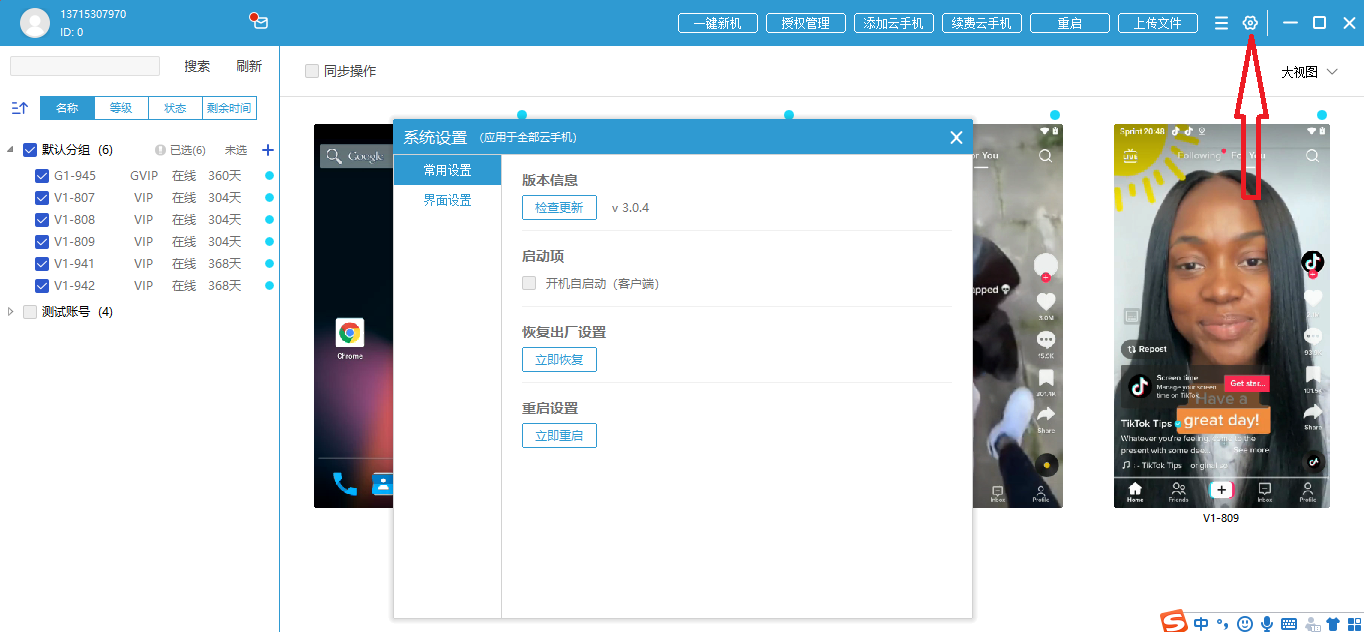
Step 2: In the pop-up shortcut key menu, select the “Interface Settings” option, then drag the GPS button in the toolbar settings down to the tools toolbar below.
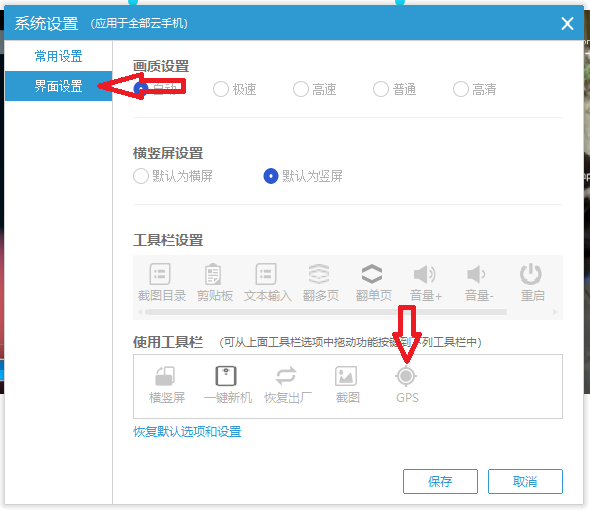
Step 3: Click the “GPS” button on the right side of the cloud phone.
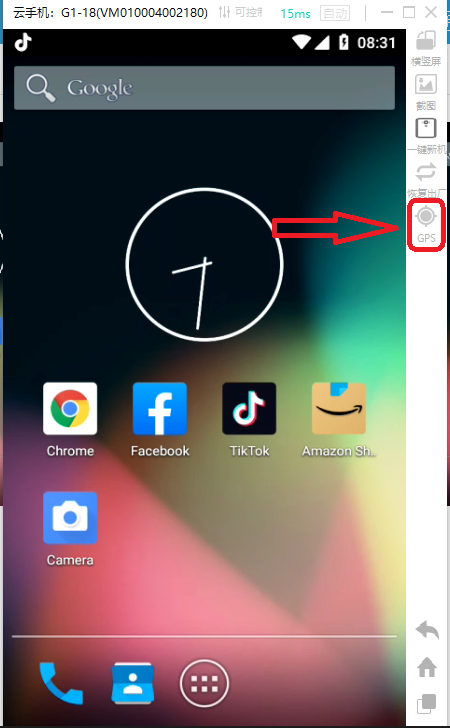
Step 4: In the pop-up map, position the mouse at the target location and click “Confirm Modification.”